How to share your data online with OSF
By Peder M. Isager
October 2, 2018
Disclaimer:
In the time I spent writing up this blog post, Courtney Soderberg published a tutorial manuscript for data sharing on OSF in the journal AMPPS. I highly recommend checking it out!
Intro
The Open Science movement is here to stay. Journals, reviewers, and fellow scientists increasingly expect that data and materials from research findings be made available upon publication. There are very good reasons for this, as open data and materials have the potential to increase reproducibility and collaboration, reduce the cost of data collection, and shift the focus from single findings to cumulative research programs. I think every researcher will stand to benefit from these uptakes in open practices. However, it is one thing to preach open science, and antother to practice it.
If you have never made data available online before, it might all seem a bit daunting. Where should I put the data? What should I put up? What do I need to consider before I do it? Fortunately, making data available online does not need to be be very difficult. There are a few things you should know before posting your data online, but if you learn how to do it once, the procedure is overall quite similar from dataset to dataset. The time investement is well worth it in my experience. Katherine Wood has already written an excellent blog post with general tips and advice on sharing data and analysis scripts. So exellent in fact, that you should just read it, and come back afterwards. See you soon!
…
Welcome back! Now that you know what you should think about when making your data and analysis scripts open, let me walk you through a practical example of how you can do this on The Open Science Frameword (OSF). This is just one of many platforms for data sharing you could consider, but OSF’s flexibility and general user friendliness makes it a good place to start.
OSF is a website maintained by the Center for Open Science, and is a hub for everything Open Science. OSF will store your data for free, and they have a back-up fund in case they run out of money, guaranteeing that your data will be accessible for at least 50 years. In other words, you get a free back-up of your data, and you can die happy, knowing that your data will live on long after you are gone. On that cheerful note, let’s get started!
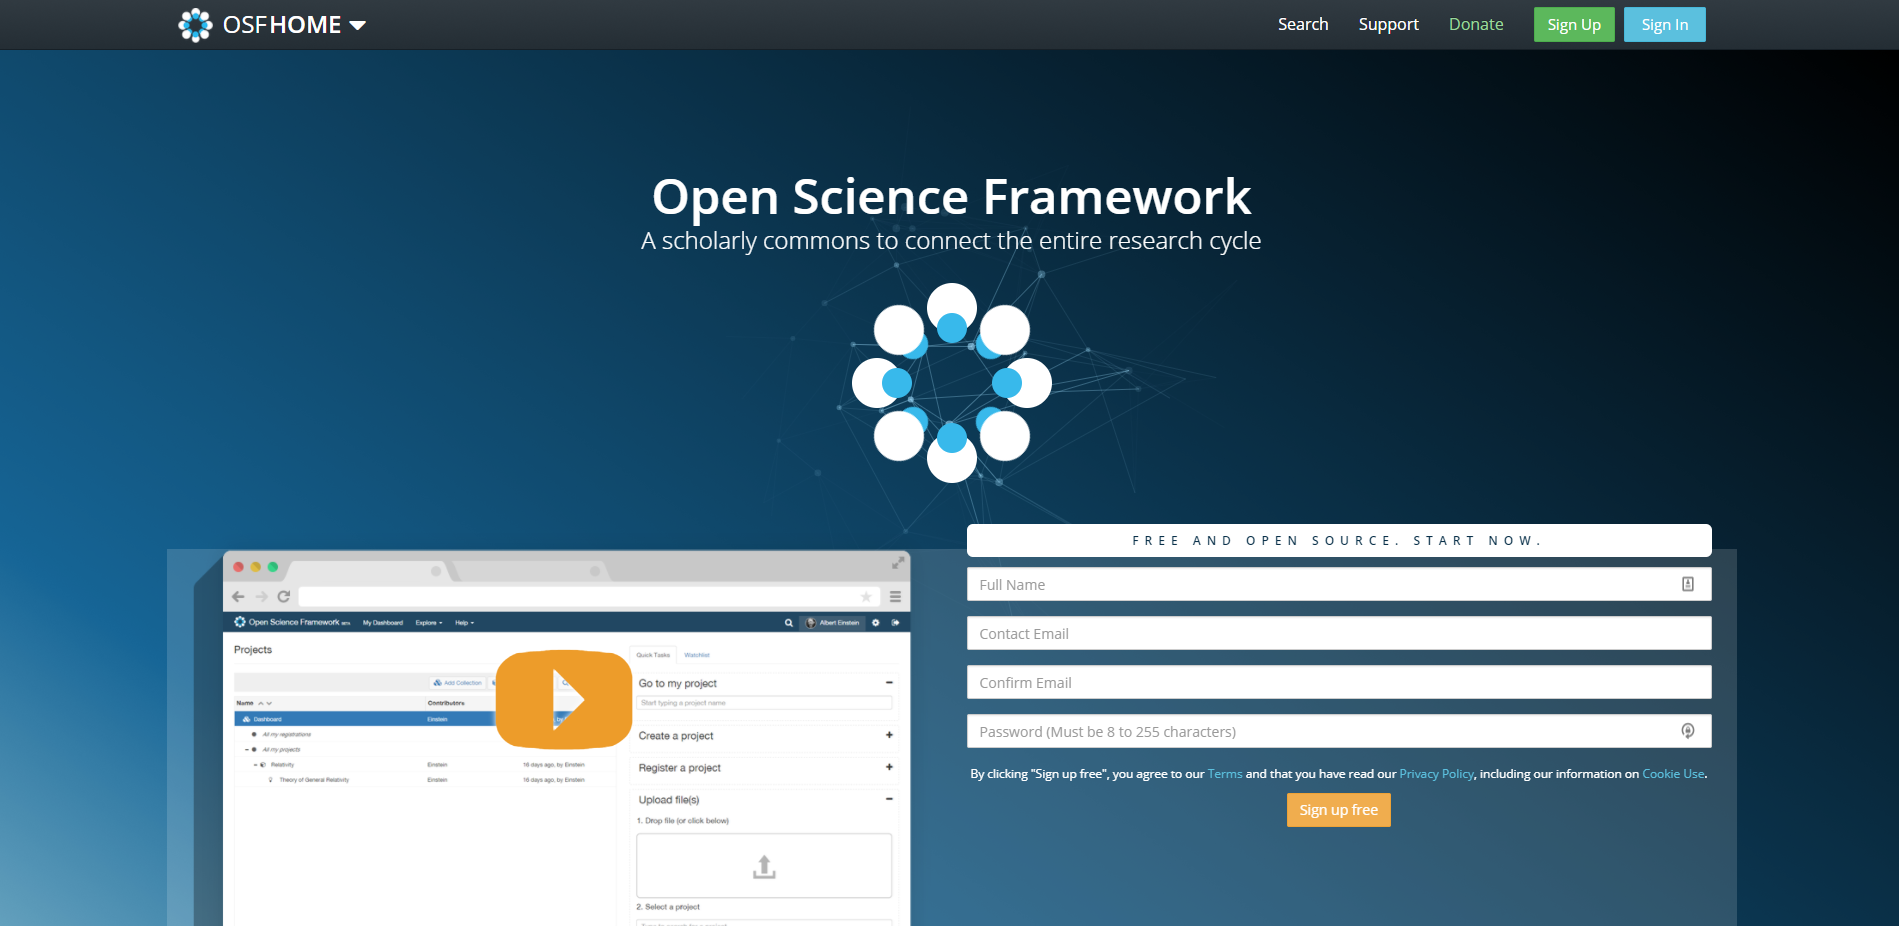
Figure 1: OSF Frontpage.
Create a profile
First, you need to head over to OSF and create a profile. As mentioned, this is completely free. On the front page, click the green “Sign up” button, fill in your personal details, and you should be good to go.
When you are signed up and logged in, you should find yourself on the OSF dashboard. OSF keeps data and materials sorted into “projects”, and on the home screen you get an overview of your projects. In the upper right corner you will find a taskbar. If you click your name and then click “My Profile” in the drop-down menu, you can see and add information about yourself such as social media accounts, your ORCID ID, etc. To get back to the dashboard from anywhere, click the “OSF HOME” button on the upper left of the page. Now let’s create a project and see how we can add data to it.
Create a new project
When on the dashboard page, click the green “Create new project” button. This will open a dialogue box prompting you to fill in the name of the project. Try to write a sensible name that describes the content of the project (I.e. not “Data”). A good solution is to use the title of the paper/manuscript/grant proposal that is connected to the data you want to share. You will also be prompted to choose at which location you would prefer your data to be stored. If you are an EU researcher, choose “Germany - frankfurt” as your storage location to make your data GDPR compliant. Check out this link to learn how to change the default storage location for all your future projects. You can also click “more” below the title box, and add a description (you can edit this later as well). When done, click “create”, and click “Go to new project” in the following dialogue box.
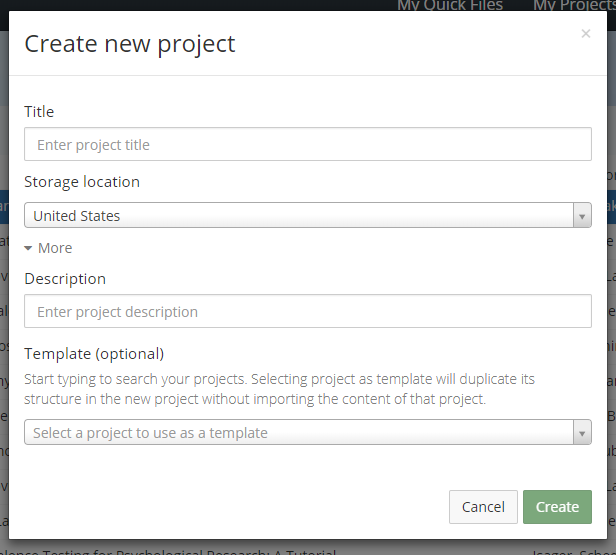
Figure 2: Dialogue box for creating new project.
Welcome to your new project! You should now be looking at your brand new project page! On this page you can add all the files and information relevant to your project/study. Notice immediately that your project is currently private (fig 3.1). This means that only you have access to this project and its contents. You can add collaborators in privat mode (like a shared folder on Dropbox), but the project and its content will not be publicly available until you decide to make it so. If all you want is a way of sharing data with collaborators, you can even choose to never make the project public. If you do make it public, also note the citation box (fig 3.2). You, or anyone visiting your project, can click the arrow in the far right corner of the box and get a dropdown box of citations in different style formats. In addition to this, public projects can also get a DOI (Once you make a project public, a “Create DOI/ARKID” link appears about 5 lines below the project name). This makes it easy for you to cite your project in a manuscript or CV, and for others to cite your project in their publications.
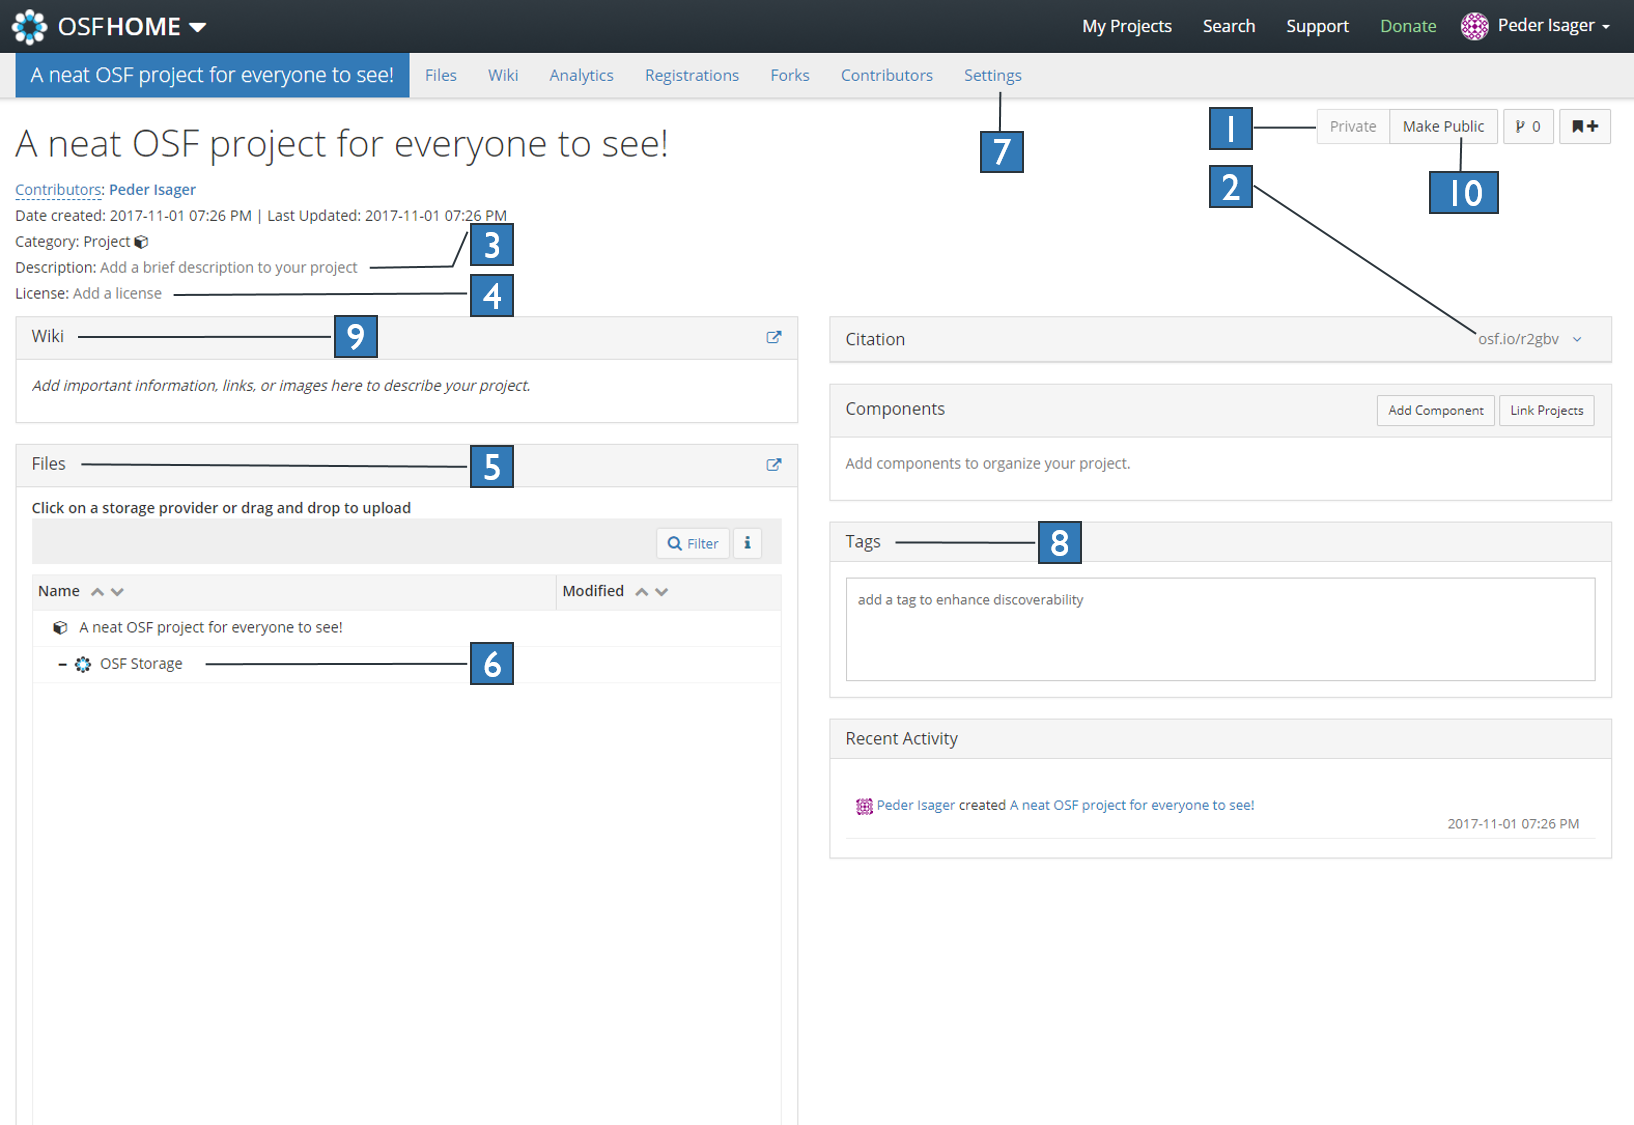
Figure 3: OSF project page. Numbers are referenced in text as “fig3.1-10”.
Finding help and more information
Did you run into any trouble along the way? Fear not! Reliable sources tell me that OSF also has a very real and friendly human person you can reach at support@osf.io, who would be happy to help you out.
No more trouble? Then congratulations! You now have an open, licensed, reuasable, and citable version of your data and materials that can be accessed by anyone for the forseeable future. Just put a link to the project in your manuscript and voilà! Anyone can make use of your openly shared data, at no extra cost to you!
PS: If you want to see an example of any of the recommendations offered here, check out the OSF project for this post where I tried to address them all. You can also find a lot more information and help on the OSF support pages.
PPSS: If you are interested in learning more about how to increase the transparency of your research practices, check out this detailed practical guide to transparency in psychological science, by Klein et al.